
How to Can Chicken Stock at Home (Using the Presto Digital Pressure Canner)
Canning Chicken Stock at Home (Using a Digital Pressure Canner)
Pressure canning chicken stock is one of the easiest ways to preserve homemade broth for your pantry. If you cook from scratch, chicken stock is one of those pantry staples you reach for constantly. It’s the base for soups, gravies, sauces, and even simple weeknight meals.
The problem? Store-bought stock can be expensive, and it often contains additives, preservatives, or excessive sodium.
That’s why learning how to pressure can chicken stock at home is such a game-changer.
Not only does it save money, but it allows you to preserve homemade stock safely for months on the pantry shelf.
In this post, I’ll show you how to can chicken stock using the digital pressure canner I’ve been loving lately.
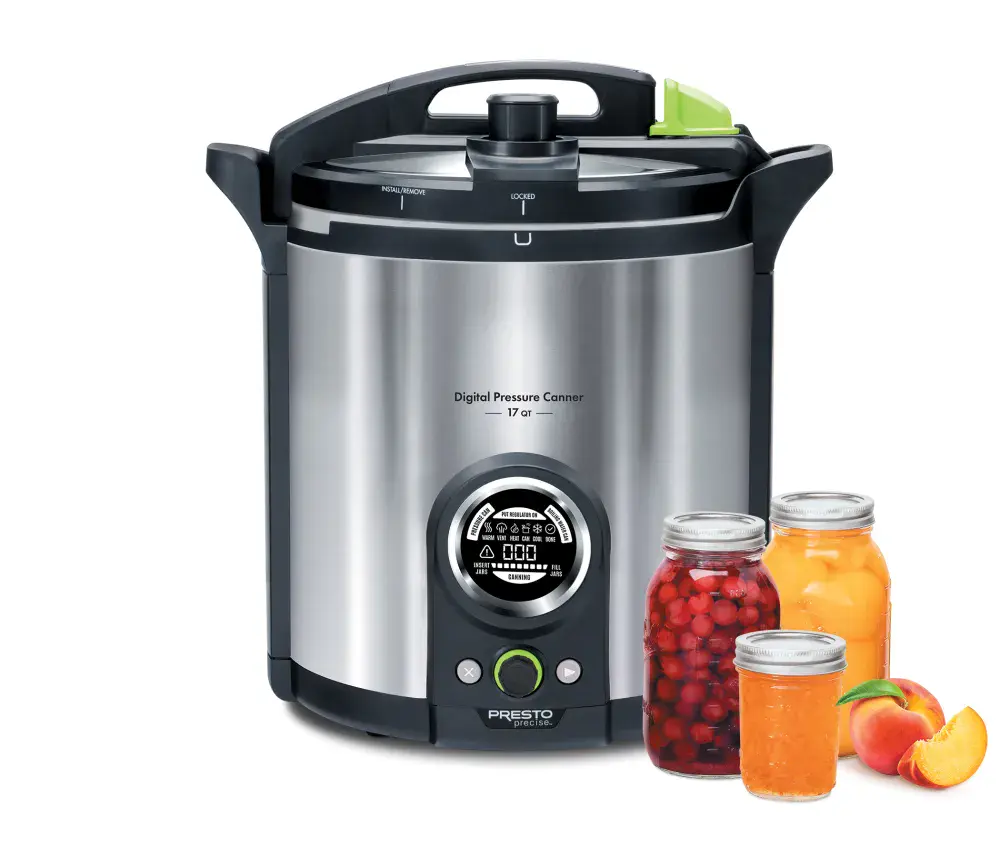
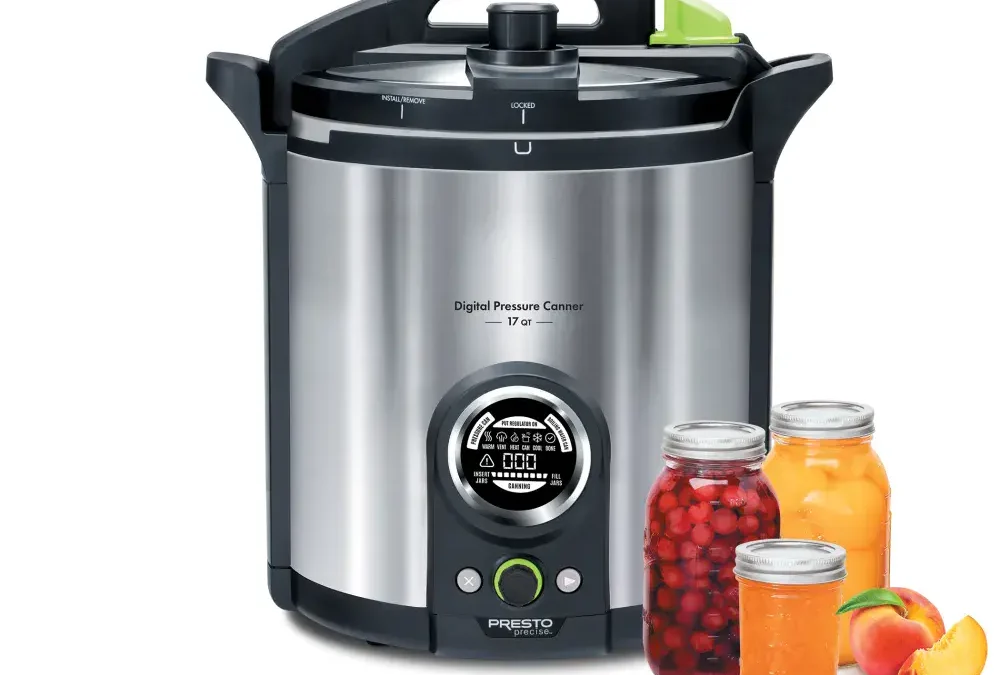
17 Qt Preston Pressure Canner
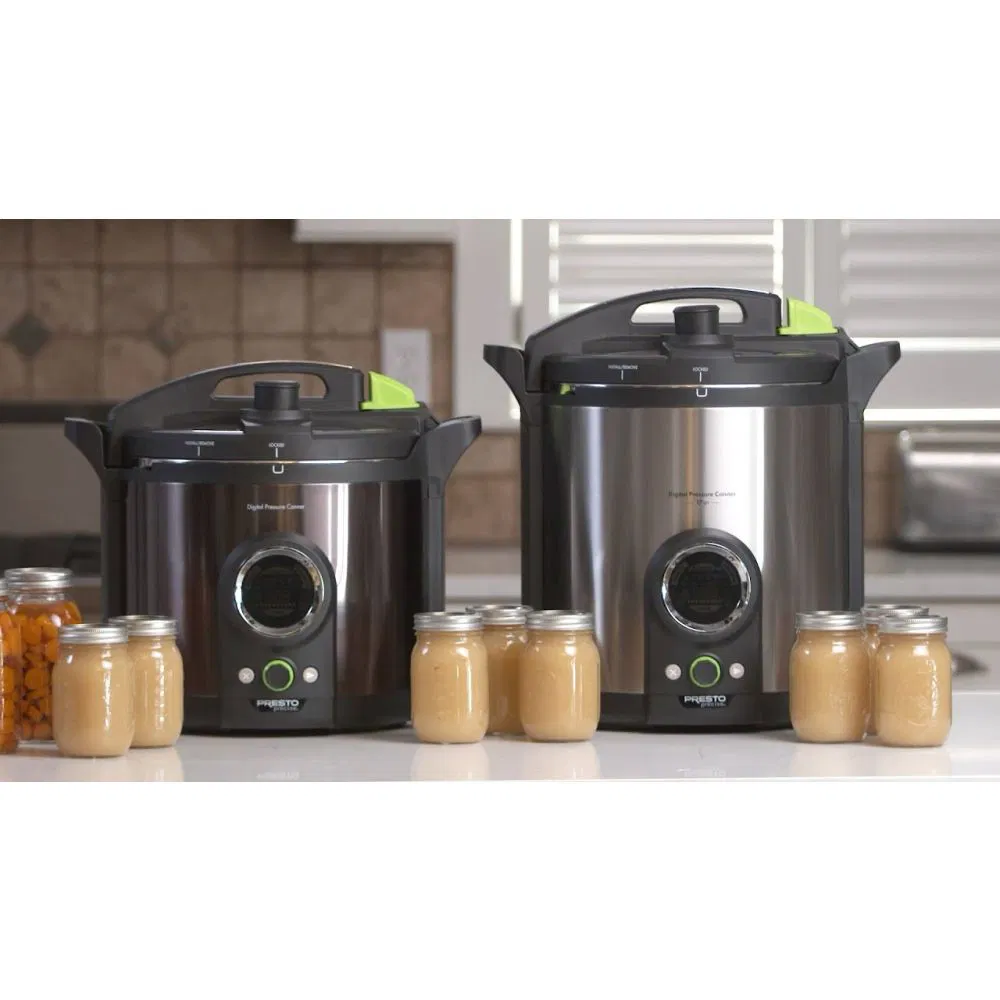
12 Qt Preston Pressure Canner
The Presto 02152 17‑Quart Digital Pressure Canner is designed to simplify the pressure canning process with digital controls and built-in safety features.
This electric canner:
-
Uses a digital display that walks you through each step
-
Automatically maintains the exact temperature needed for safe canning
-
Can process low-acid foods like meats and stock
-
Includes 10 built-in safety features, including a locking lid system
-
Holds quart jars for larger batches
-
Works as both a pressure canner and boiling water canner
It even preheats jars and keeps them warm until they’re ready to process, which makes the workflow much easier.
For people who feel intimidated by traditional pressure canners, the digital version removes a lot of the guesswork.
Why Chicken Stock Must Be Pressure Canned
Pressure canning chicken stock is one of the easiest ways to preserve homemade broth for your pantry. However, you need to take into consideration that chicken stock is considered a low-acid food.
Low-acid foods must be pressure canned to destroy dangerous bacteria like Clostridium botulinum, which cannot be eliminated using a boiling water bath.
Pressure canning allows temperatures to reach 240°F+, which safely preserves foods like:
-
Meat
-
Poultry
-
Vegetables
-
Bone broth
-
Soups and stocks
This is why a pressure canner (not a pressure cooker) is required.
Step 1: Make the Chicken Stock
You can make stock using:
-
Whole chicken carcasses
-
Bones from roasted chicken
-
Chicken backs or feet
-
Vegetable scraps
Simple Homemade Chicken Stock
Ingredients:
-
1–2 chicken carcasses
-
1 onion
-
2 carrots
-
2 celery stalks
-
2 cloves garlic
-
1 tablespoon salt (optional)
-
Water to cover
Instructions:
-
Place all ingredients into a large pot.
-
Cover with water.
-
Simmer 4–6 hours.
-
Strain the liquid through a fine mesh strainer.
-
Discard solids.
Let the broth cool slightly before canning.
Step 2: Prepare Your Jars
You’ll need:
-
Mason jars (pint or quart)
-
New lids and rings
-
Jar lifter
-
Funnel
-
Clean towels
Fill hot jars with hot chicken stock leaving 1 inch headspace.
Remove bubbles and wipe the rims clean.
Place lids and rings on fingertip tight.
Step 3: Load the Pressure Canner
With the Presto digital pressure canner:
-
Add water to the canner as instructed.
-
Place the rack inside.
-
Load filled jars onto the rack.
-
Lock the lid.
The digital display will guide you through the process step-by-step.
The canner’s sensor automatically maintains the correct processing temperature for safe canning.
Step 4: Processing Time
For chicken stock:
| Jar Size | Processing Time |
|---|---|
| Pints | 20 minutes |
| Quarts | 25 minutes |
(Processing times follow USDA pressure canning guidelines.)
Once finished, allow the canner to cool naturally.
Do not force pressure release.
Step 5: Cooling and Storage
Remove jars and allow them to cool on a towel for 12–24 hours.
Check seals:
-
Lids should not flex when pressed
-
Remove rings for storage
Store sealed jars in a cool, dark pantry.
Properly canned chicken stock can last 12–18 months.
Why I Love Canning Stock
Canning stock is one of the most satisfying homestead kitchen projects. Once you get comfortable with pressure canning chicken stock, it becomes one of the easiest pantry staples to keep on hand.
Instead of wasting chicken bones, you turn them into:
-
Soup base
-
Gravy starter
-
Rice cooking liquid
-
Pantry convenience food
It’s also a huge money saver, especially if you cook whole chickens regularly.
And once you start pressure canning, you’ll realize how many other foods you can safely preserve at home.
✔ Pantry-stable
✔ Clean ingredients
✔ Zero waste cooking
That’s the kind of kitchen system I love building here on Fun on the Homestead.
Sublimation Notebook Blanks (4 Pack) – A5 Faux Leather Journals
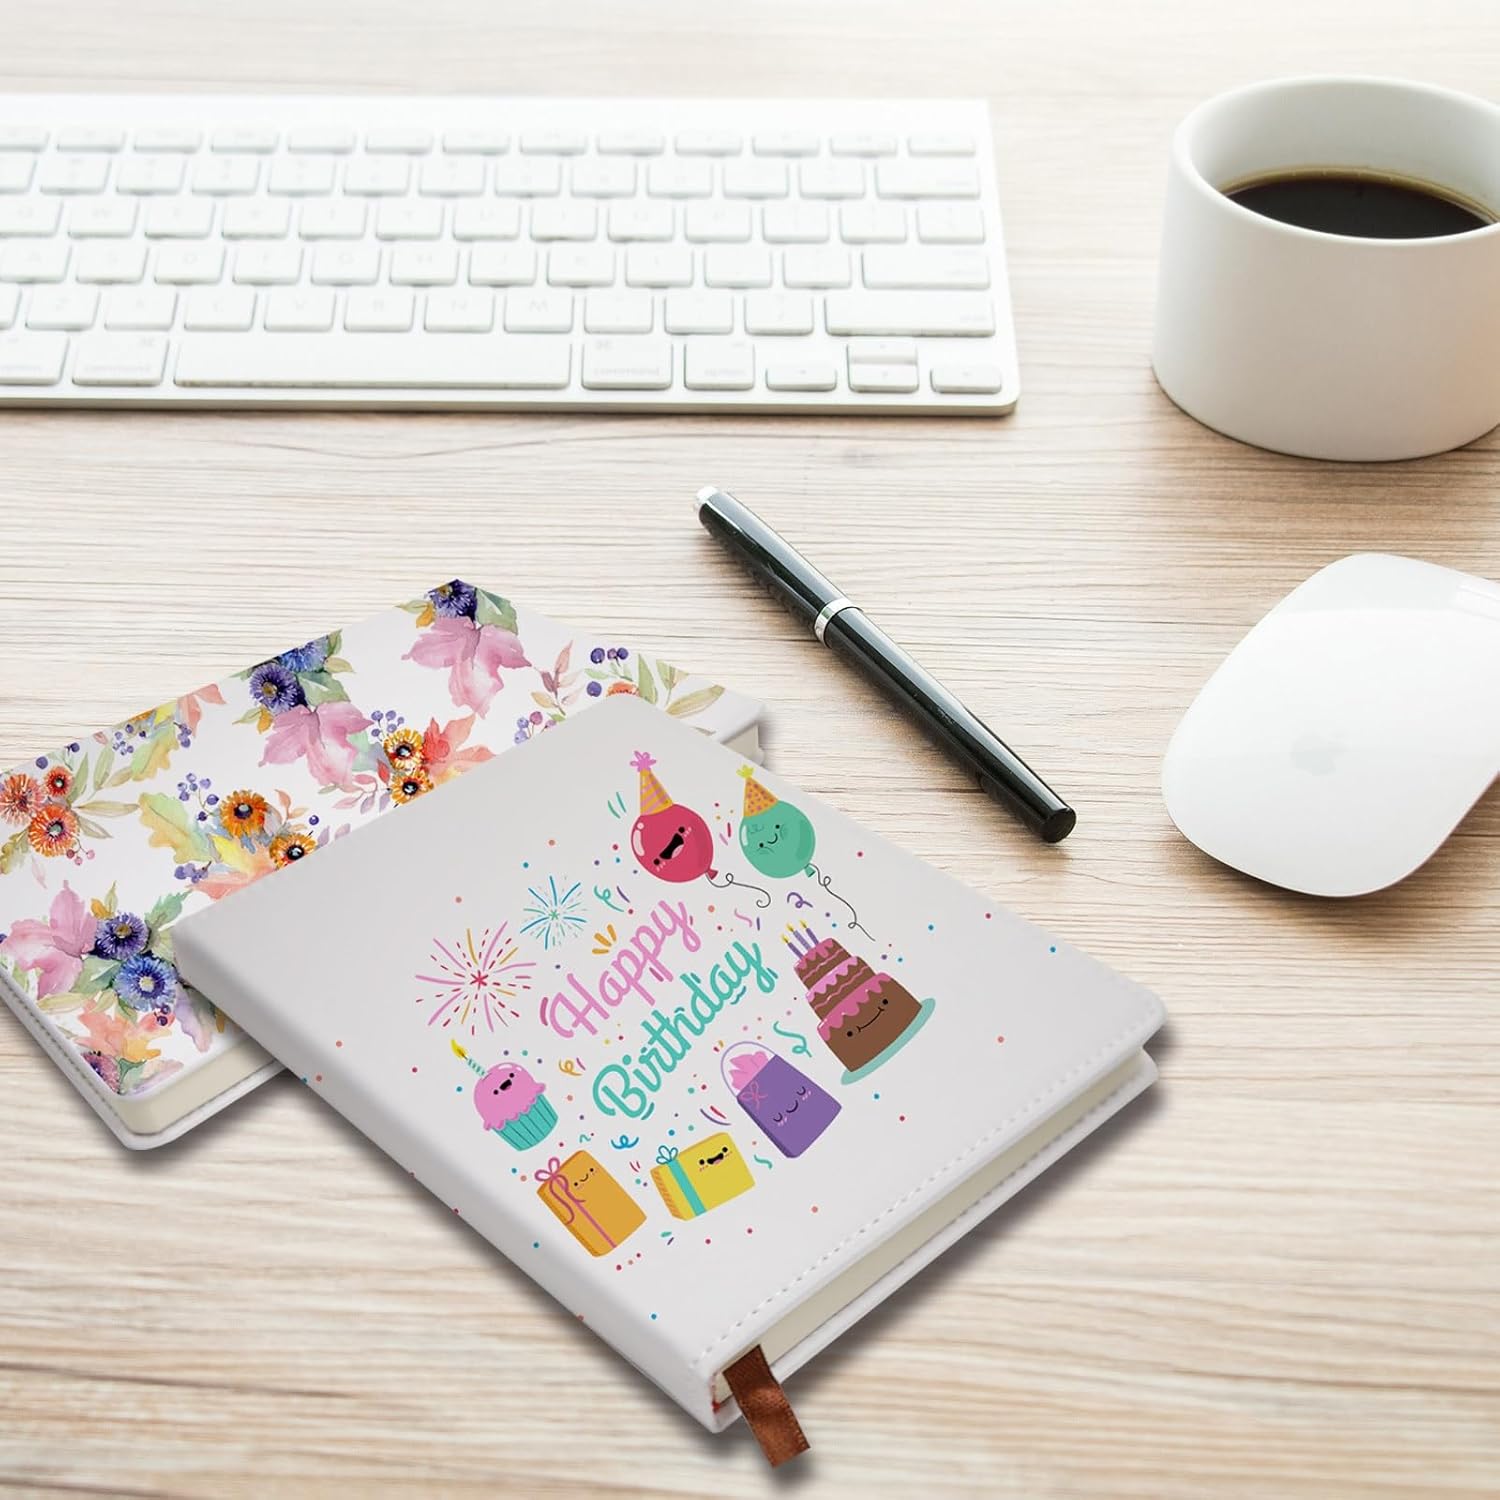
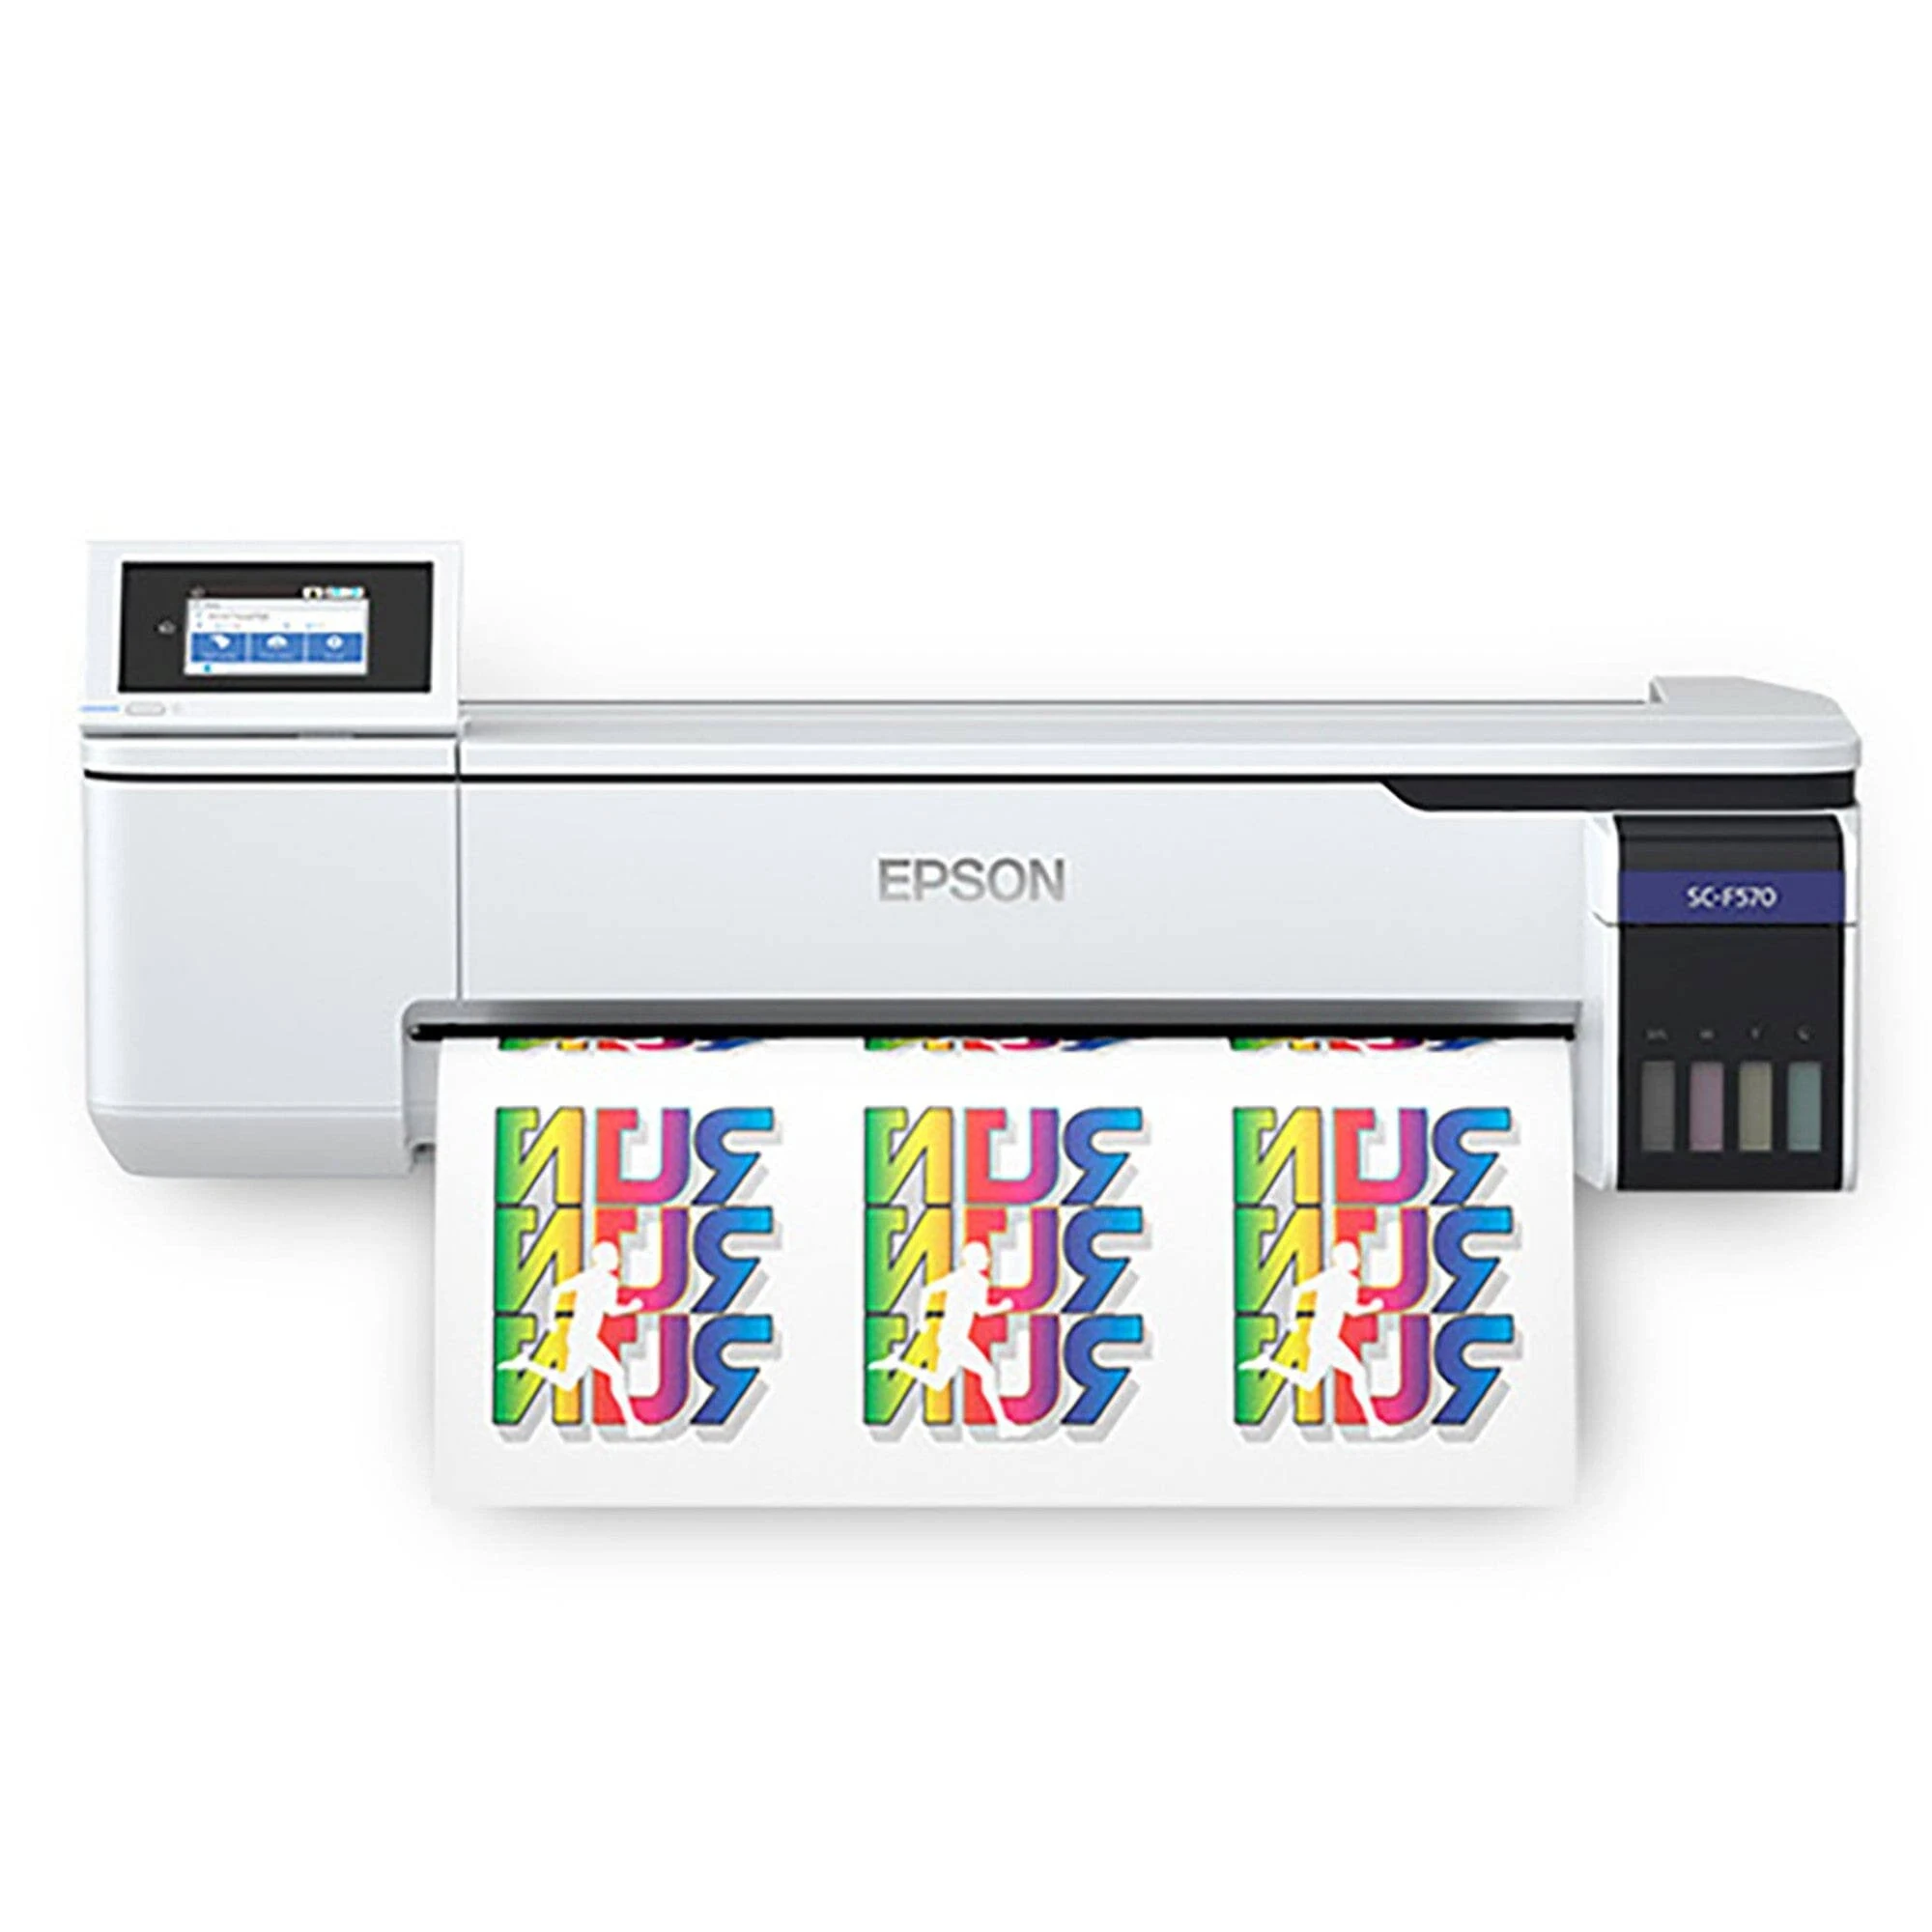
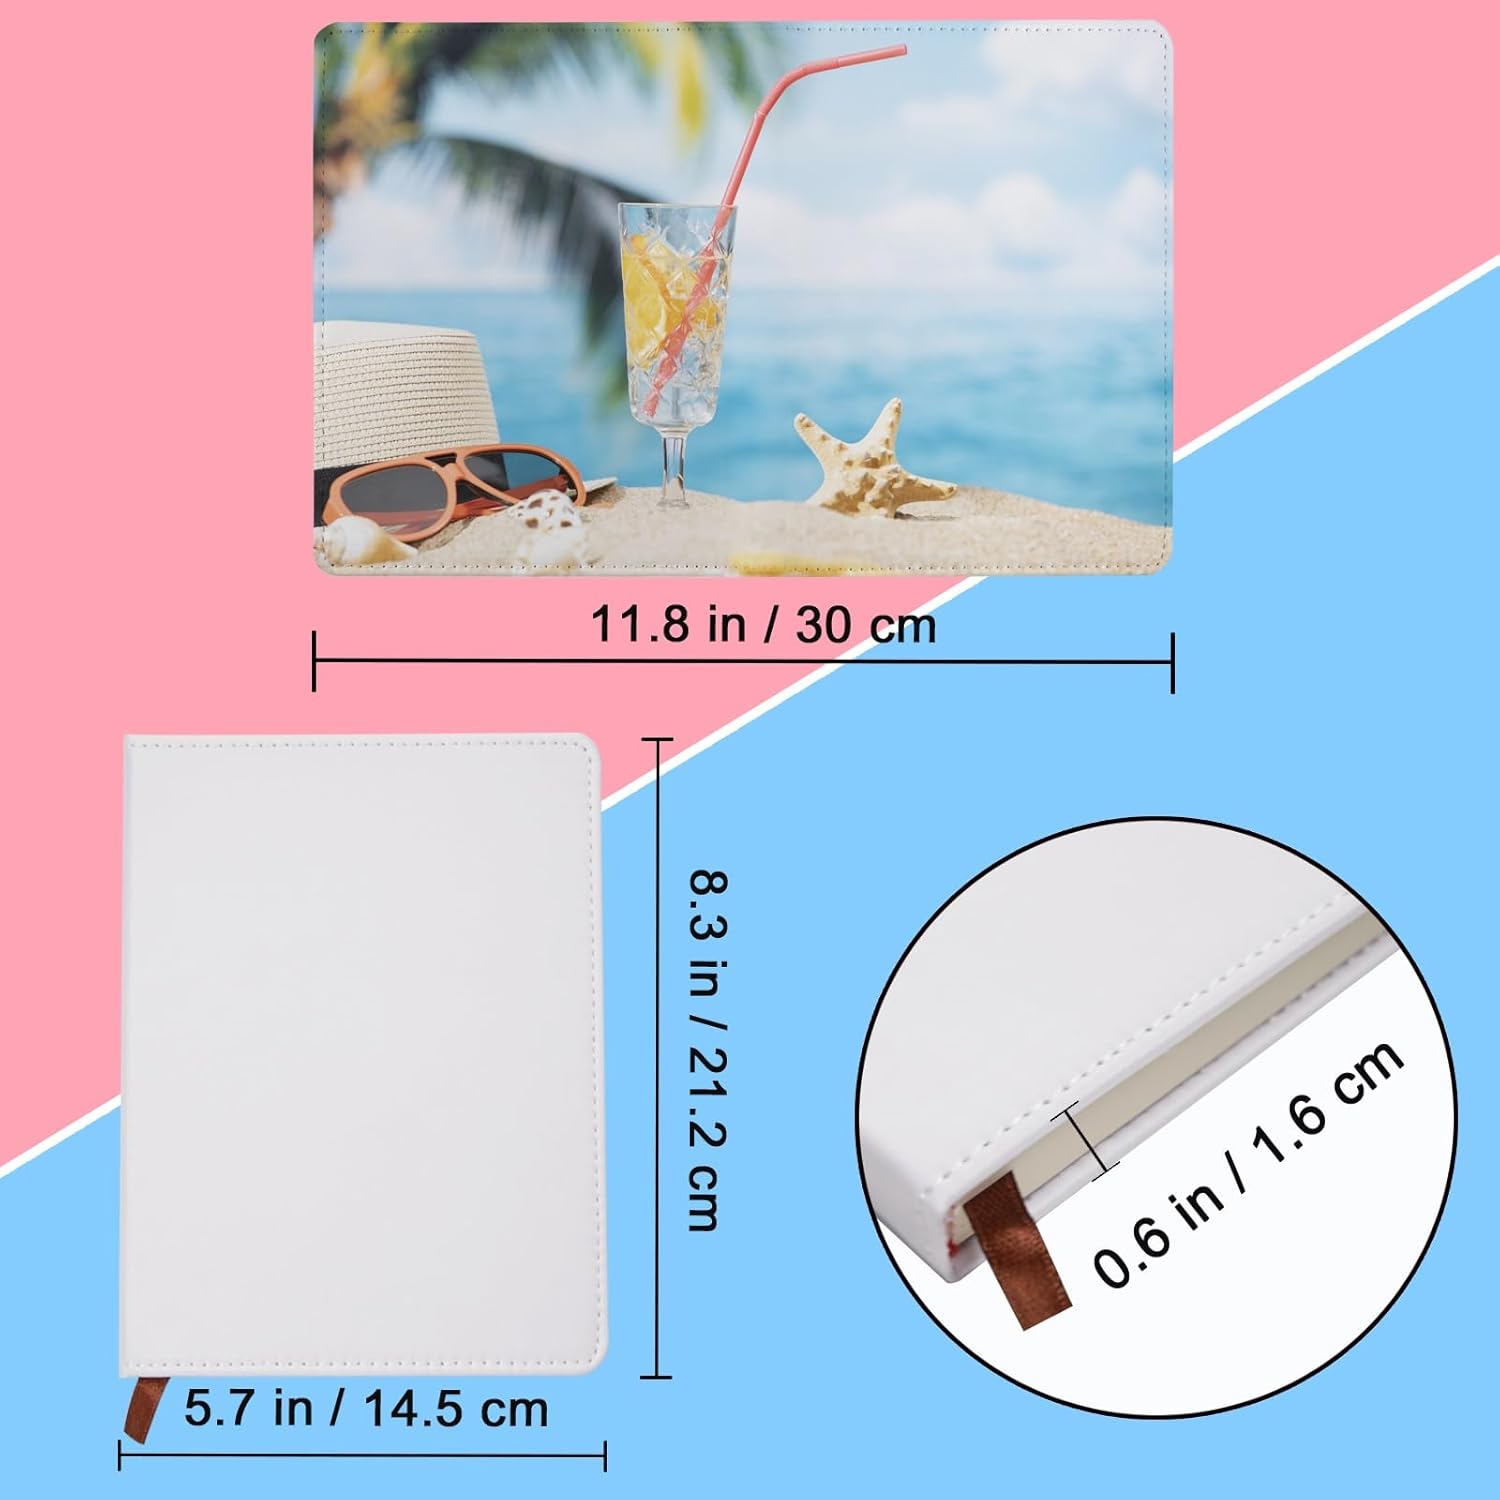
Sublimation Notebook Blanks (4 Pack) – A5 Faux Leather Journals
This post may contain affiliate links. As an Amazon Associate, I earn from qualifying purchases at no additional cost to you.
If you enjoy making custom gifts, small business products, or personalized journals, these A5 sublimation notebook blanks are one of my favorite affordable blanks to keep on hand.
They are easy to press, professional looking, and perfect for creating personalized journals for teachers, students, graduation gifts, or even small shop products.
👉 You can check the current price here:
What Comes in the Pack
This set includes four A5 sublimation notebooks, giving you a great value if you like to batch-create multiple designs.
Each notebook includes:
-
4 white sublimation notebook blanks
-
95 sheets per notebook (190 pages total)
-
Double-sided adhesive tape for assembly
-
A sublimation positioning strip
The finished notebook measures approximately:
8.3 x 5.7 inches (A5 size)
This is a great size for:
-
daily journaling
-
planners
-
church notes
-
school notebooks
-
business notebooks
Quality & Materials
These notebooks feature a smooth faux leather sublimation cover that accepts heat transfer beautifully.
Once pressed, the colors appear vibrant and long-lasting. The paper inside the notebook is smooth and comfortable to write on, making the finished product feel much more expensive than the cost of the blank.
Because the cover is separate from the notebook during pressing, it also helps prevent damage to the pages while sublimating.
Sublimation Press Settings
For best results, use the following settings:
Temperature:
356–374°F (180–190°C)
Time:
50–60 seconds
Important tip:
Before pressing, use the included sublimation strip to secure the cover in place so it stays centered during the transfer.
Once your design is finished pressing, simply attach the cover to the notebook using the included double-sided tape.
What You Can Make With These
These sublimation notebooks are perfect for creating:
-
Teacher appreciation gifts
-
Graduation gifts
-
Personalized school journals
-
Bible study notebooks
-
Custom business notebooks
-
Small shop sublimation products
-
Travel journals
-
Handmade holiday gifts
If you run a sublimation or handmade business, these are a great product to add because they feel premium but are still affordable to produce.
Why I Like These Notebook Blanks
Some sublimation blanks feel cheap or flimsy, but these notebooks are surprisingly sturdy and give a very clean, boutique-style finish once assembled.
Because they come in a 4-pack, they are also great for experimenting with multiple designs without spending a lot upfront.
👉 You can see the current price and reviews here:
Final Thoughts
If you enjoy making personalized gifts or custom products, sublimation notebooks are one of the easiest projects to start with. They press quickly, look professional, and are something people actually use every day.
These A5 notebooks are a great blank to keep in your craft room — especially if you like creating gifts for teachers, family members, or customers.
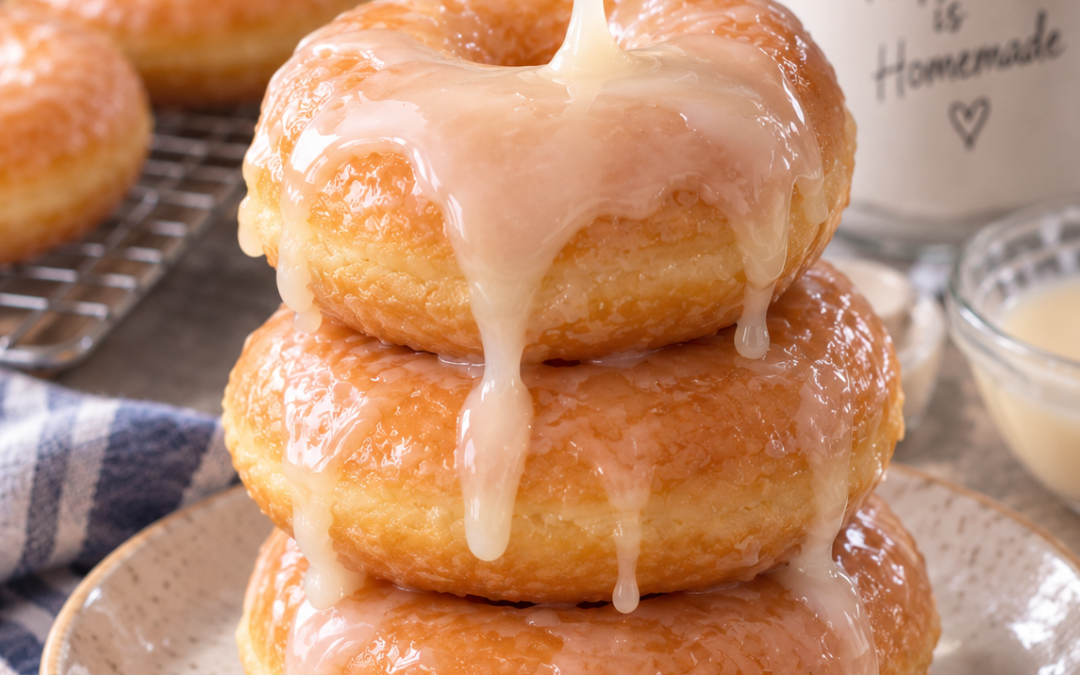
Vanilla Donut Glaze
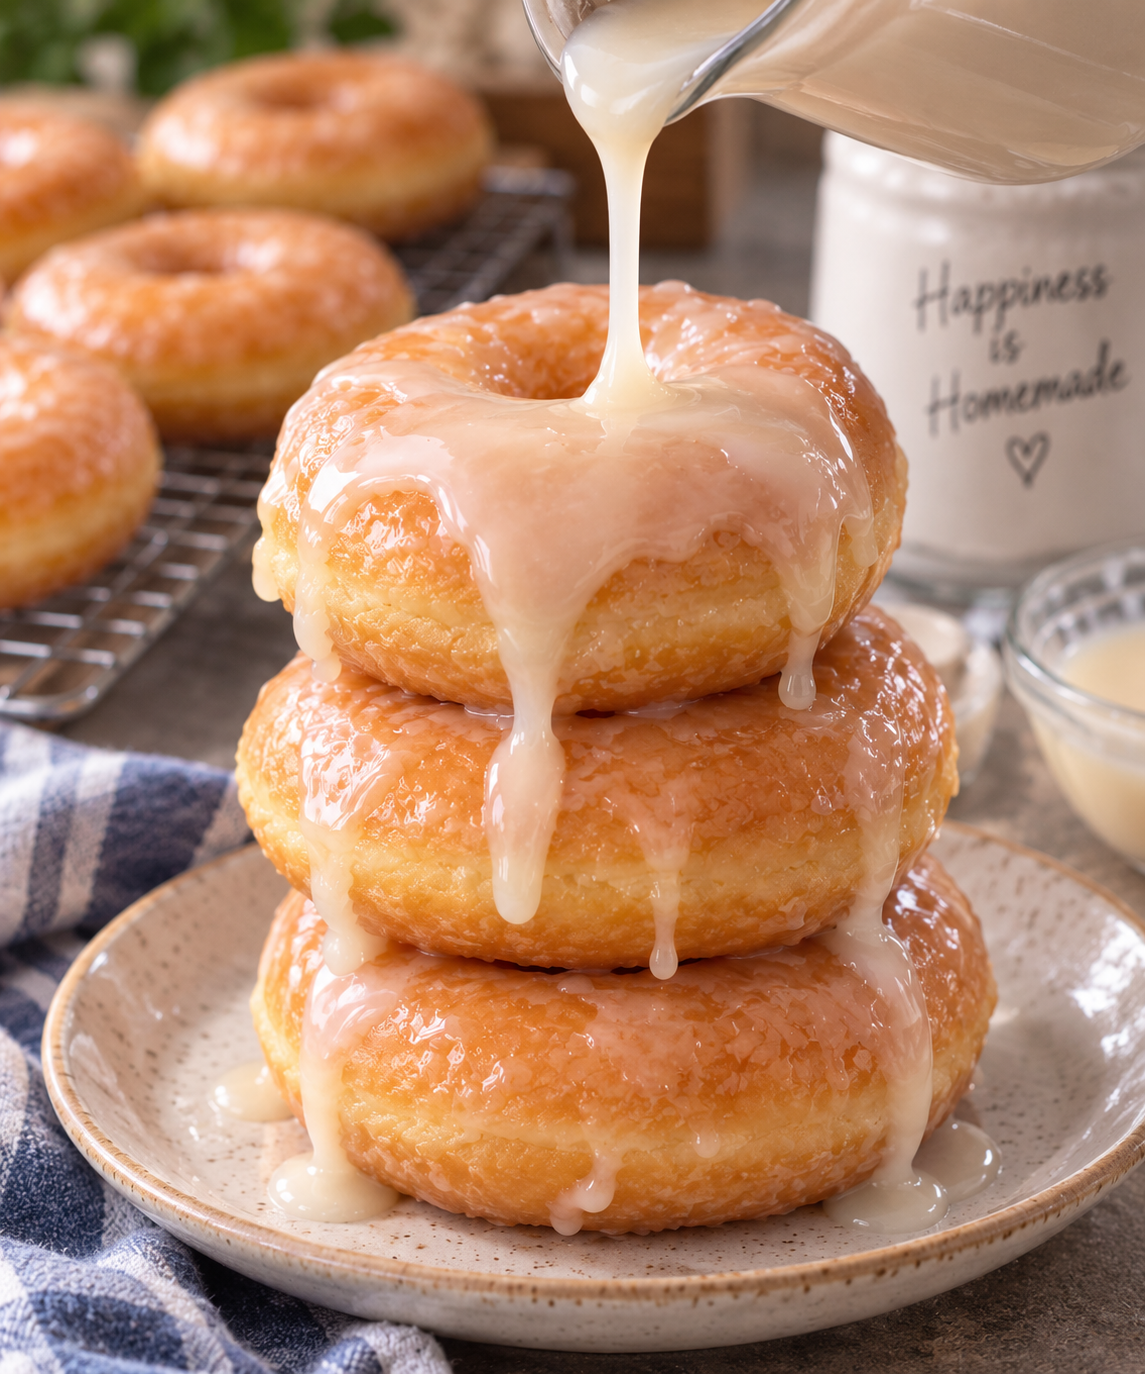
Vanilla Donut Glaze
We tried so many recipes trying to get the right glaze. We have provided you with the winning recipe! The Perfect Vanilla Glaze.
Finding LorAnn’s Bakery emulsions have been a game-changer in our search for the perfect recipe. In the Vanilla Glaze, we used Butter Vanilla Emulsion. It is a must-have for every home baker’s shelf.
Enjoy!

Vanilla Donut Glaze
This Vanilla Donut Glaze recipe is AMAZING!
Prep Time 5 minutes
Total Time 5 minutes
Ingredients
- 2 cups Confectioner Sugar Sifted
- 1 1/2 tsp Light Corn Syrup
- 1/4 tsp Iodized Salt
- 1 tbsp Granulated Sugar
- 1 tsp Butter Vanilla Emulsion LorAnn Emulsion
- 1/3 cup Water
Instructions
-
Place the confection sugar, light corn syrup, salt, and Butter Vanilla Emulsion in a large mixing bowl. Set Aside
-
Make a syrup with the granulated sugar and water. Whisk the granulated sugar and water together in a small saucepan. Bring to a boil and reduce the heat. Allow simmering for a minute stirring occasionally.
-
Add the syrup mix to the confectioner sugar mix
-
Blend mixture with either a whip or mixer until all ingredients are combined.
-
To Glaze: Dip donuts into the warm glaze.
The best-glazed donut recipe.
The one ingredient that makes this glaze
If your glaze tastes like sweet nothing, it’s almost always the flavoring. Vanilla extract gets baked out and watered down. What I use instead is a bakery emulsion, which holds its flavor instead of disappearing.
- LorAnn Butter Vanilla Bakery Emulsion – this is the one. It’s what makes a homemade donut taste like a donut shop donut instead of like sugar.
- LorAnn Buttery Sweet Dough Emulsion – for the dough itself, if you’re making the yeast donuts to go under this glaze.
A bottle lasts a long time. You use it by the teaspoon, and it’s the difference people can taste without being able to name.
What I’ve learned since first posting this
- Glaze the donuts while they’re still warm, not hot. Hot melts it straight off; cold sits on top in a crust.
- Thinner than you think. It should run off the whisk in a ribbon. It sets up firmer than it looks in the bowl.
- Dip, lift, twist. Let the extra run back into the bowl for a few seconds before you set it down.
- A cooling rack over a sheet pan catches the drips and saves your counter. The drips go back in the bowl.
- If it sets too hard, you used too much sugar or too little liquid. Add milk half a teaspoon at a time.
This post contains affiliate links. If you buy through them I may earn a small commission at no extra cost to you. I only link to things we actually use in this kitchen.

Yeast Donuts – The Best Yeast Raised Donuts Recipe
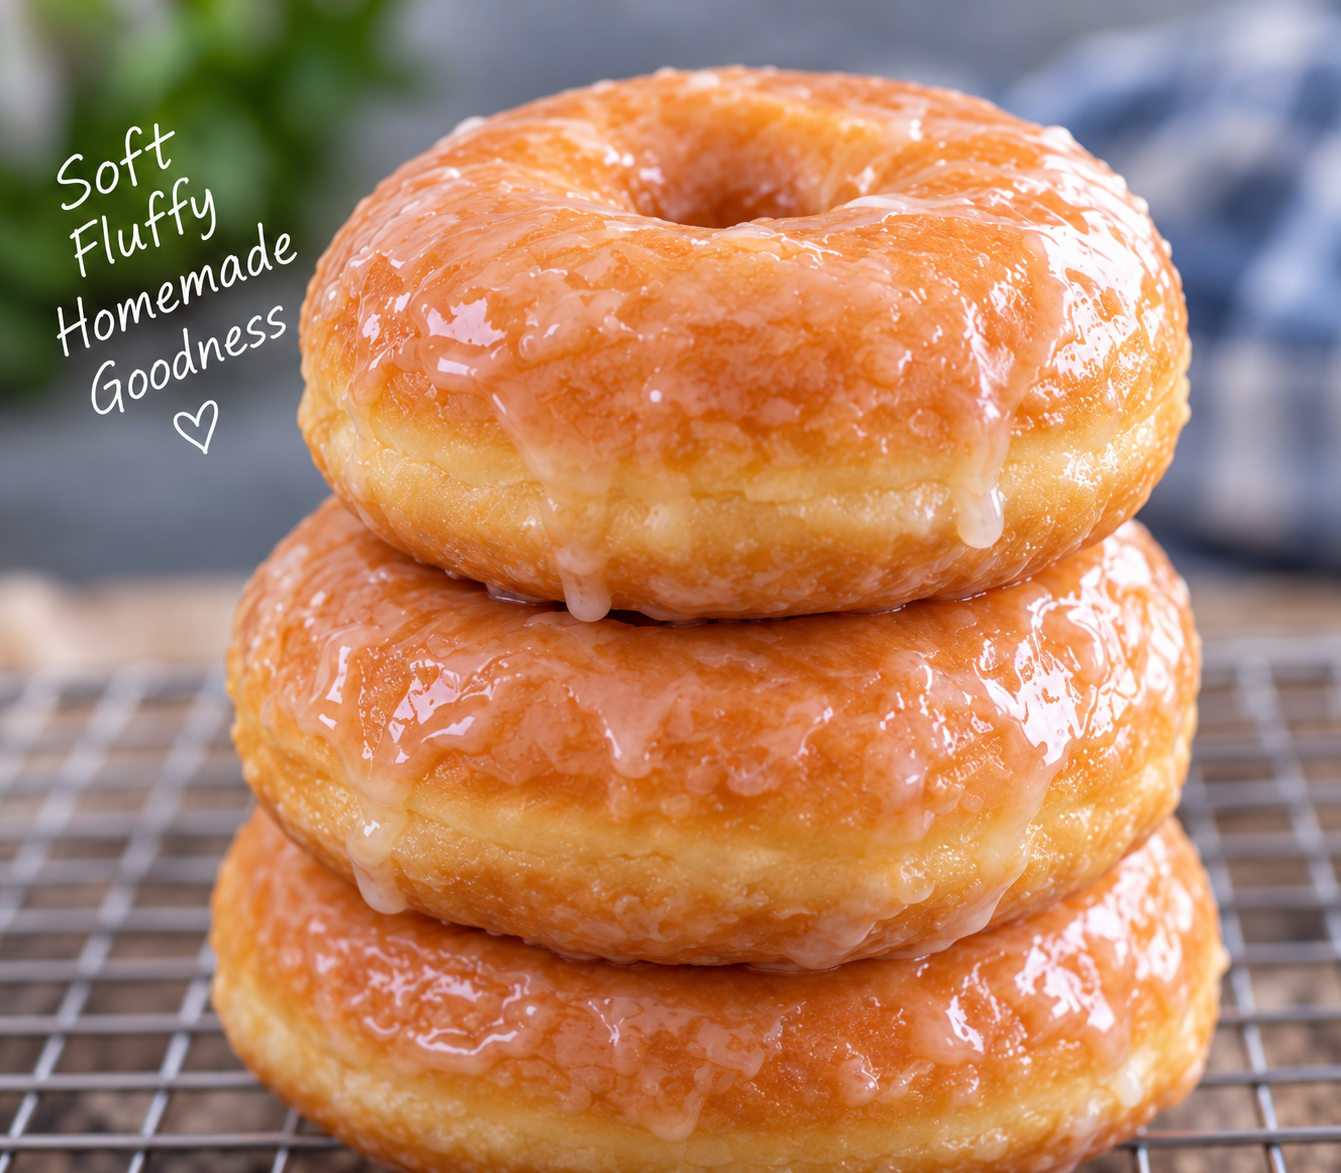
YEast Donuts – The Best Yeast Raised Donuts Recipe
The Quest for creating the perfect Yeast Raised Bakery Style Donut. Fun on the Homestead is participating is a pantry challenge #projectpantry. As I looked into my pantry, I had a 50lb bag of flour, All Purpose, King Arthur Flour I wanted to use up and rotate through. This provided the perfect opportunity to create the best yeast raised donut this Homestead has ever created. We got the texture down pretty quickly. However, the flavor left a lot to be desired. Until… I went on my research binge. I kept going back to hard candy (I know a little crazy) but, I wanted to create great flavor without adding a lot more ingredients due to we had the perfect texture down. Anybody familiar with yeast dough knows, yeast dough has a mind of its own.
Well, I am sharing with you the secret. LorAnn’s bakery emulsions. Buttery Sweet Dough Bakery Emulsion will be the “secret ingredient” in your baked goods & frostings! In your recipes calling for vanilla extract, try substituting Buttery Sweet Dough for a flavor update you will not be disappointed.
So here is the best glazed, yeast, raised, donut recipe. Just for you!

Glazed Donuts- Yeast Raised- Bakery Type
The Best Recipe for Yeast-Raised Glazed Donuts.
Prep Time 2 hours
Cook Time 2 minutes
Total Time 2 hours 2 minutes
Servings 14 Donuts
Ingredients
- 1 1/4 Cups Warm Water Save a 1/4 Cup to bloom your yeast
- 1 1/4 tbsp Yeast
- 1 tsp Sugar
- 3 3/4 Cups King Arthur All Purpose Flour I tried using other types of flour. King Arthur produced the fluffiest donuts
- 1/2 Cup Sugar
- 1/4 Cup Shortening Not Butter Shortening
- 1 Large Egg
- 1/2 tsp Salt
- 2 tsp Buttery Sweet Dough, Bakery Emulsion You can use Vanilla Extract-But, it will not produce the bakery type Donut recipe
- 1/2 tsp Nutmeg or Mace
Instructions
-
Please do not make any substitutes for this recipe. If you want to create a bakery type yeast raised donut.
I also found using my bread machine on the dough cycle produced a more delicate donut.
-
In a bowl - Start your yeast -1/4 cup of warm water, yeast, and 1 tsp of sugar. Mix well and allow to bloom.
-
Either in your bread machine or mixing bowl - Add your flour, sugar, salt, nutmeg, egg, shortening, Buttery Sweet Dough, Bakery Emulsion, water, and yeast mixture.
-
**Bread Machine- Turn it on dough cycle**
-
**Mixer** -Combine mix on low to combine ingredients - switch to dough hook and knead for 3 minutes. Oil your bowl and cover and allow to proof the rise should be double the size.
-
After the dough has proofed. Turn the dough on a floured surface and punch down. Let the dough rest for 10 minutes.

-
Roll the dough out to 1/2" - 3/4" thickness. (depends on how you like your donuts. Cut out your donuts.
-
Place on a lightly oiled/floured baking pan. Cover with plastic wrap. Let rise for at least 30 minutes or until double the size.
-
Turn on your deep fryer 360 degrees ( I used shortening for the oil - this was the best result for the donuts)

-
Once the oil has achieved temperature - Gently remove the donuts from the baking pan and place in the fryer.
-
Fry until lightly browned -flipping the donuts midway through the frying.
-
Remove the donuts from the fryer and place on a paper towel - this will allow the paper towel to absorb the oil. I found placing the donuts on a rack the donuts were oily.
-
Glaze your donuts while still warm.
We used a simple glaze as well as cinnamon sugar.
Recipe Notes
If you are looking to create a bakery type yeast raised donut. Please do not substitute the ingredients.
We have made this donut recipe several times and the ingredients we have listed created the most authentic tasting donut.
King Arthur's All Purpose Flour
Shortening
LorAnn's Bakery Emulsions
The Secret to the Best Donuts-
Buttery Sweet Dough Baking Emulsion
LorAnn’s Buttery Sweet Dough baking & flavoring emulsion has the rich taste of creamery butter combined with a hint of citrus and vanilla that will give your homemade sweet breads, pastries, donuts, and buttercream frostings an irresistible “bakery shop” flavor. The aroma and flavor reminds us of a Danish pastry fresh from the bakery!
Buttery Sweet Dough Bakery Emulsion will be the “secret ingredient” in your baked goods & frostings!In your recipes calling for vanilla extract, try substituting Buttery Sweet Dough for a flavor update.
1 teaspoon baking extract = 1 teaspoon emulsion

Here is the recipe for the Perfect Vanilla Glaze
From time to time we post Amazon Affliate links. We may earn a small commission that does not cost you a thing. Thank you for supporting Fun on the Homestead –
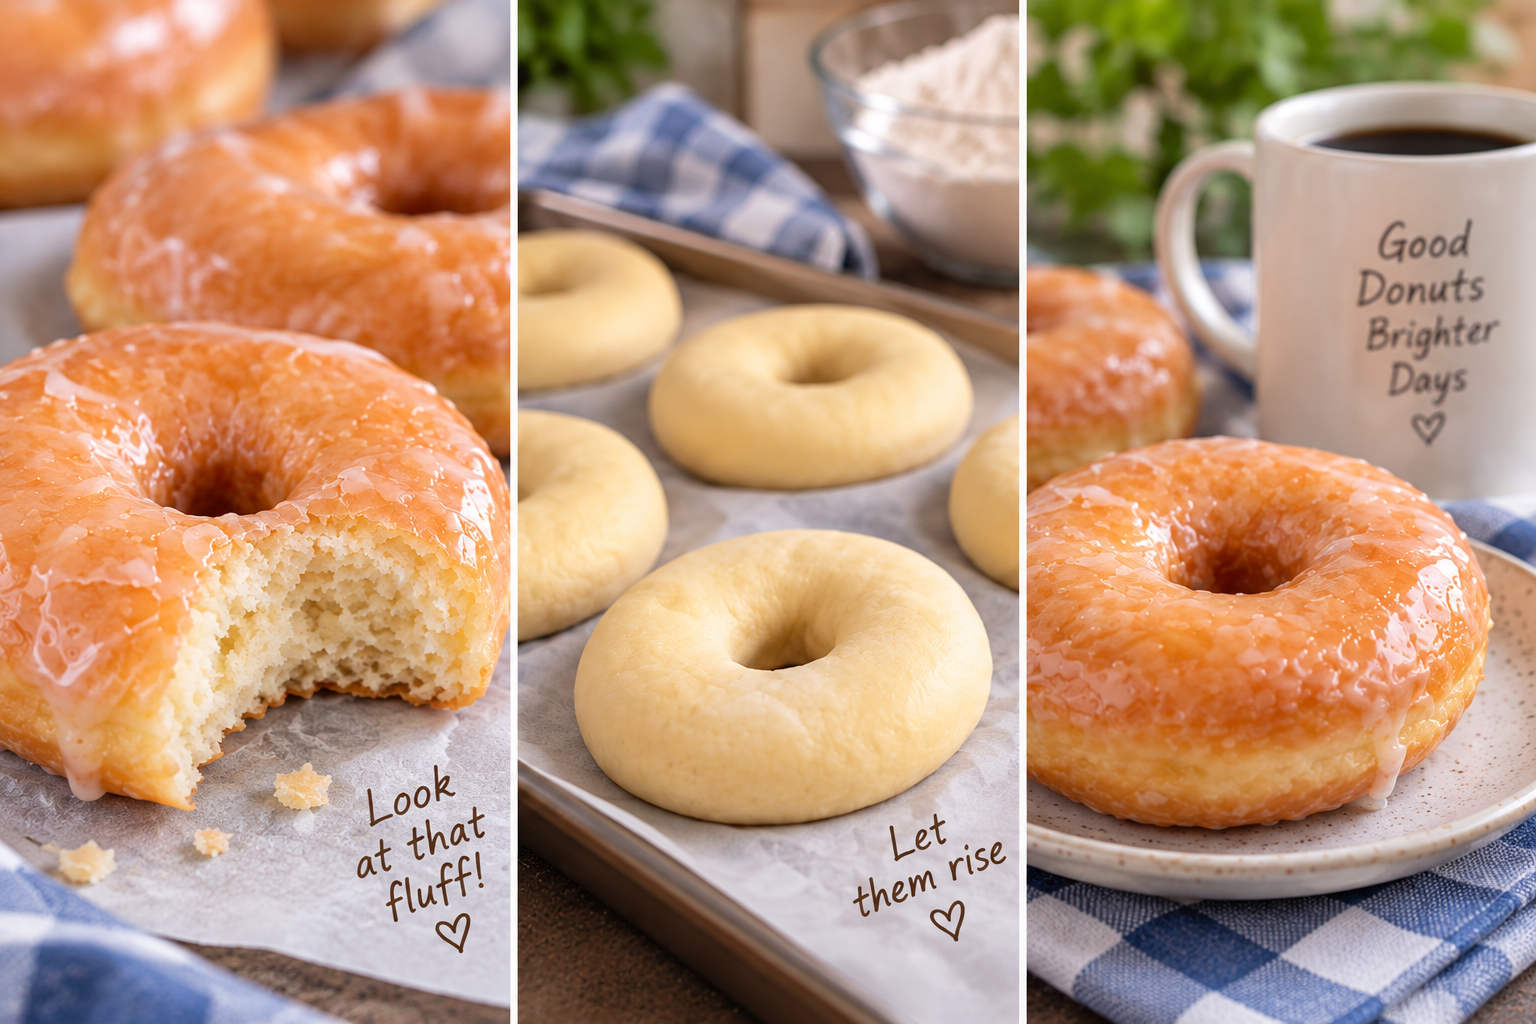
Eight years of making these: what I’d tell you now
- Dough temperature does more than yeast brand. Cold kitchen, slow rise. In winter I let mine rise near the woodstove, and it’s a different dough entirely.
- Don’t flour the board heavily. Every bit of extra flour you work in makes a tougher donut.
- Oil at 350°F, and let it come back up between batches. Dropping cold dough in drops the temperature, and greasy donuts are just donuts fried too cool.
- They’re best the day you make them. Day two they’re fine. Day three they’re a bread pudding waiting to happen.
- Cut them, then let them rest again before frying. Skipping that second rest is why donuts come out dense.
Pair these with the vanilla donut glaze, which is where most of the flavor lives.

Preparing for Emergencies on the Homestead
Preparing for Emergencies on the Homestead
Last night on Youtube Live, Noreen’s Kitchen and The Kneady Homesteader were discussing preparing homestead emergencies and what steps they have taken to prepare their families in a time of emergency. It really had me thinking about what we had learned in the past couple of years. Over Christmas, we lost power for a week, my husband broke his ankle and now he had a heart attack. I have become a quick study on some things I never even dreamed about.
Water
For instance, we are on a well and have a generator. Water should not be a problem (as long as we have fuel) right? Well, not exactly: our generator will not run our well pump. No well pump means no water! I don’t have cats, but if you know someone who does, ask him/her to save the plastic cat litter bottles for you. They work perfectly for storing water for flushing and bathing.
5 Gallon Buckets
You can never have enough. 🙂 You can effectively take a bath with less than 5 gallons of water. Heat 2 gallons of water on your stove and mix the rest with cooler water. Grab yourself a cup, or use the plastic storage containers. It works like a charm and being clean never felt so good if you are in a stressful situation without power.
Cooking Meals
How are you going to cook all that amazing food you have stored in your pantry? Rocket Stove or Wood Stove – Make sure you grab a pair of welding gloves to remove those beautiful pots off the stoves. Kitchen pot holders are not designed to pull hot cast iron off a really hot wood burning stove or rocket stove. Trust me, it will be well worth the few dollars you laid out at Harbor Freight.
We live in Northern Michigan – It’s COLD
Fuel
Ladies – Know how to run a chainsaw – to include making the fuel mixture, filling the bar oil- and safely operating your chainsaw. This has been a big one for me. My husband always made the mixture for the fuel and made sure I had enough bar oil. In the past, if someone would have said two cycle motors, I would have looked at them with a blank stare. Now I know to mix the oil and the gas together in the correct ratio before running. Totally different from a 4 stroke motor.
Snow plow – either the shovel kind or a mechanical one.
This is especially important if you have a medical emergency. We have quite a long driveway. With the situation we are now in with my husband’s heart attack, this item has moved to the top of my priority list.
Emergency – 911
We only use cell phones. We don’t have land line options in our neck of the woods. This past summer, I needed to contact 911, but I couldn’t find my phone. Seriously! Thank goodness our son and his girlfriend were visiting: they are millennials and never let go of their phones. It worked out.
House Numbers
Ensure your address is visible. Every second counts. That statement is no longer a cliche. My husband died as he was being wheeled into the ER. Thank G-d he was in the right place at the right time, and they were able to shock him back to life.
Cash on Hand
No electricity = NO ATMs or swiping your debit card. Make sure you have some cash!
Community
Make sure you have relationships with people in your community. We have been so fortunate to have the Baker’s Green Acres crew – They have helped out with Wood – Food – Loaning me their kids to help with fencing, and of course fellowship.
This is not an inclusive list. Just some things that came to mind during the live chat with Noreen’s Kitchen and The Kneady Homesteader.
Underlay- Why you should learn to LOVE IT
Underlay- Why you should learn to LOVE IT
Underlay is one of the most important foundations of embroidery digitizing”. However, it lacks excitement, fun, and it’s just difficult to communicate without the need to take a nap in between sentences.
That is not saying much! (I am sure somewhere in a marketing book, it says “you should not put your readers to sleep”)
So, let me try and explain underlay and why you need it.
Have you ever heard of Spanx? They were designed as an undergarment to hold things in place and to provide a smooth look under your attire.
Well, there you go!
That is the function of Underlay in our digitized designs. So when we stitch our designs out it holds the stitches, fabric, and stabilizer in place and makes your design look smooth when finished.
1.) Underlay binds your fabric to your stabilizer.
2.) Minimizes puckering
3.) Assist in Density – by providing foundation coverage.
4.) Underlay keeps all of your digitized objects well defined.
How to choose the “Right Underlay Stitching”
Let’s use the Spanx analogy again.
1.) Center Run- well we are all aware of the muffin top issues. Well, that is what happens when you use only the center run stitch on a large column satin or fill- it does provide a foundation. However, the edge of your design spills out the sides, creating a jagged/rough edge. We don’t want that. The only time we use a standalone center run is on VERY small columns. Say from 1.0-2.0 mm column.
2.) Edge Run – Edge Walk- is a running stitch- placed around the edges just a few 0.3-0.4 mm away from the edge of our fill or satin stitch. Providing the nice clean, crisp look. The underlay edge run creates a structure that will stop the top stitch from pulling in.
3.) Zig Zag – Double Zig Zag- Both Zig Zag- Double Zig Zag can be used to provide thorough underlay, or where raising satin stitches columns are needed to prevent the stitches from “sinking” (terry cloth, fleece, etc).
4.) Parallel- are used in complex Fill areas. Usually with angles either diagonal or perpendicular to the direction of the stitches in the main fill area. Parallel Underlay, provides the means to properly stabilize stitch intense areas, particularly large fill areas.
5.) Edge Run – Edge Walk &Zig Zag- This type of underlay is the result of combining an Edge Run-Edgewalk with a Zig Zag. The benefits are used to provide support for satin stitches as well as satin columns to prevent sinking with (terry cloth, fleece, etc). The Edge Run-Edge Walk provides a great foundation for stitch intense areas.
6.) Edge Run-Edge Walk & Parallel underlay- are used in complex fill areas. By combining the Edge Run-Edge Walk & Parallel underlay, it prevents the jagged, sawtooth, rough edges. Very desirable in fill areas using knit and other stretchy type fabrics.
So now that we have a basic understanding of Underlay Stitches, we can see why it is one of the most important aspects of digitizing great designs.
As Marilyn Monroe once said, “Give a girl the right pair of shoes, and she can conquer the world”. Well… in digitizing, “Give a girl the right underlay, and she can conquer any design”.
Worth noting… successful embroidery starts with a solid foundation that the only underlay can provide.
So, I hope I didn’t bore you too much… This is really a subject we discussing a lot more in depth. But, this will provide you an area to start researching.
HOPE THIS HELPS!

What is Push and Pull Compensation in Machine Embroidery Digitizing
What is Push and Pull Compensation in Machine Embroidery Digitizing:
Embroidery is an Art of Distortion.
Let’s first discuss what Distortion is in Machine Embroidery.
What is the cause of Push and Pull Distortion?
Push and Pull distortion, occur when the stitches are placed on the fabric, creating tension on the fabric creating a push and pulling effect on your design.
How to identify push and pull distortion in my stitch out?
When a gap forms between a satin stitch and an outline. When elements of your design don’t line up. Here is a great example of a design that was posted in our Facebook Group of push and pull effect on machine embroidery. This design was purchased from an ETSY shop that the digitizer clearly did not understand the basic foundations of digitizing. Understanding distortion and the effect of push and pull on design.
How do you fix push and pull compensation?
With correct underlay and adding pull compensation.
Pull compensation in your software, overthrows the width of the column. Factors to consider, are the wider the column stitch, the more pull compensation you need to apply. Why is this? Because the wider the stitch is, the more tension of the top and bottom threads will increase to create a flat stitch on the fabric.
The “pulling” effect is causing a shortening effect when the stitch direction reverses. Conversely, stitches are “pushed” out along the length. However, these are not equal, opposing forces. This is also referred to as registration issues in your stitch outs.
When digitizing an Embroidery Design- Look at your design in your digitizing software
Do all the objects exactly line up no matter what direction the stitches are placed?
Is your running stitch outline placed exactly on the edge of your design?
Do all your letters line up perfectly?
If you answered “Yes” to any of those questions, your design will be a “hot mess” similar to the photo posted earlier. The great news is, it will allow you to identify and learn. This will allow you to see how registration and dancing baselines occur.
Ask yourself, did I take into consideration, push and pull-compensation? Underlay? Stitch direction? Stitch length?
Compensation is one of the harder things to master as a digitizer. You are likely to see more problems when you are a novice designer and free designs from questionable sources. The best control overcompensation is accomplished through a combination of redrawing objects and applying pull compensation settings in the digitizing software. Pull Compensation, must be drawn in when you are digitizing your design— this is a big reason why auto-digitizing software does not always produce the best result.
Can you add in too much compensation?
Yes!
Too much overlap can cause thick, lumpy areas and can run up stitch count. In some cases, excess compensation can contribute to distortion—which is what proper compensation is trying to correct.
Where do I use Pull Compensation?
In your satin stitches as well as fill stitches.
If you are experiencing Compensation/Registration Issues
Verify you have made the necessary design considerations.
-correct underlay
-correct pull compensation
-correct density
-correct stitch lengths
Stitch your design on a smooth, stable fabric, on the straight of the grain, with a sturdy stabilizer, in the smallest hoop that will accommodate your design. Place the fabric and backing in between the rings of the hoop versus floating.
If you continue to have issues, go back to the digitizing process.

A Homesteaders Life – The Reality of Living on a Homestead
Homesteaders Life – The Reality of Living on a Homestead
The reality of living a homesteader’s life is sinking in today as I walk the dogs. Living off the land, away from crazy neighbors, oh the dream! We scrimped and saved and finally found our little bit of paradise in northern Michigan. We purchased several homesteading and living off the grid books and magazines. We read everyone of them from front to back. Notebooks full of plans and dreams,we want from our property and just the homestead lifestyle. But, the one thing I did not find in those books or magazines – Was…. What happens if one half of your team suffers a life altering injury and illness.
Will you still be able to carry on with your plans and dreams? What will they look like now? Will you be able to keep up with the homestead on your own? What’s next?
I’ll be honest, living on a catamaran in the sea like Gone with the Wynns, sounds far more appealing. The thought of running out of wood in the middle of February, or making sure that once long driveway, which seemed perfect for remoteness has now become a liability. Will I be able to keep it cleared enough so that we or the ambulance can pass through if we need it.
Our days are filled with physical therapy and cardiac rehab vs clearing the forest.
Our days are now filled with naps and making sure my husband has what he needs before I leave for a bit to run up town.
Is it still the dream? Yes, my husband is alive (which is alot better than he was in early Aug)
But the realities of a Homesteaders life sure looks a lot different than our notebooks plan and dreams.

The Widowmaker – Heart Attack
The Widowmaker – Heart Attack
It was a Tuesday afternoon – I just left physical therapy – The onset is quick from 0-60 in just a few seconds. It’s like hitting nitrous from the starting line.
Life washed from your face in just seconds, the excruciating pain, the panic inside your head. Just needing some relief.
What is going on? Deep down you know what is happening -You’ve seen this a hundred times before.
The voices of your spouse talking to 911 and in your head your screaming hurry up! Because you know if you panic, this life as you knew it would end. Trying to regulate your breathing while trying not to throw up. The sweat starting to roll across your forehead, oh the pain, the crushing pain that is radiating down your arm and into your jaw.
Waiting for the paramedics to show up with some nitro and a baby aspirin to hopefully provide some relief from the pain. It doesn’t!
You’re alive but need to get to the hospital. Two big bore iv’s placed to push the drugs and the morphine flowing through my veins not even touching the pain.
Full arrest, shocked, and a stint later – I have been granted a new lease on life.
Joe – Full-Time Fire Fighter Paramedic shares his experience of his Widowmaker Heart attack
To quote Sgt. Dave Parnell from the Detroit Fire Department ” I wish my mind could forget what my eyes have seen.”
Artwork credits go to: https://www.dansungallery.com/